
To use an external device and send and receive data over a serial port, you need some serial port handling code on the PHP side.
PHP’s dio extension (Direct I/O) provides access to low-level I/O operations, including serial port communication. Through the dio extension, you can directly operate serial port device files (such as /dev/ttyUSB0 or COM1) to implement serial port communication.
1. Installing the dio extension
The dio extension is a PECL extension for PHP. You can install it with the following steps:
Installing on Linux:1
2
3sudo apt-get install php-dev # install PHP development tools
sudo pecl install dio # install the dio extension
After installation is complete, enable the extension in the php.ini file:
1 | extension=dio.so |
2. Using dio for serial port communication
Below is a sample program that uses the dio extension to implement serial port communication:1
2
3
4
5
6
7
8
9
10
11
12
13
14
15
16
17
18
19
20
21
22
23
24
25
26
27
28
29
30
31
32
33
34<?php
// serial port device path
$device = '/dev/pts/4'; // Linux
// $device = 'COM1'; // Windows
// open the serial port device
$fd = dio_open($device, O_RDWR | O_NOCTTY | O_NONBLOCK);
if (!$fd) {
die("无法打开串口设备: $device\n");
}
// configure serial port parameters
dio_tcsetattr($fd, [
'baud' => 9600, // baud rate
'bits' => 8, // data bits
'stop' => 1, // stop bits
'parity' => 0, // parity (0: none, 1: odd, 2: even)
'flow_control' => 0, // flow control (0: none, 1: hardware)
]);
// send data to the serial port
$message = "你好我在https://erik.xyz上出生了!";
dio_write($fd, $message);
echo "已发送: $message";
// read data from the serial port
$data = dio_read($fd, 1024); // read at most 1024 bytes
echo "已接收: $data\n";
// close the serial port
dio_close($fd);
?>
3. Code explanation
dio_open: opens the serial port device file. O_RDWR means open in read-write mode, O_NOCTTY means do not make the device the controlling terminal, O_NONBLOCK means non-blocking mode.
dio_tcsetattr: configures the serial port parameters, including baud rate, data bits, stop bits, parity, and flow control.
dio_write: writes data to the serial port.
dio_read: reads data from the serial port.
dio_close: closes the serial port device.
4. Serial port parameter configuration
Configuration options for dio_tcsetattr:
baud: baud rate (such as 9600, 19200, 38400, 57600, 115200).
bits: data bits (usually 8).
stop: stop bits (1 or 2).
parity: parity bit (0: none, 1: odd, 2: even).
flow_control: flow control (0: none, 1: hardware flow control).
So at this point we need to test the code. Surely you don’t want to actually go find a serial port device — but virtual serial ports are a treat.
5. Using socat to simulate virtual serial ports in Linux
socat is a powerful tool that can create pairs of virtual serial ports.
Installing socat:
On Debian/Ubuntu systems:
1 | sudo apt update |
Creating a virtual serial port pair:
Run the following command to create a pair of virtual serial ports:
1 | socat -d -d pty,raw,echo=0 pty,raw,echo=0 |
After running it, it looks like this: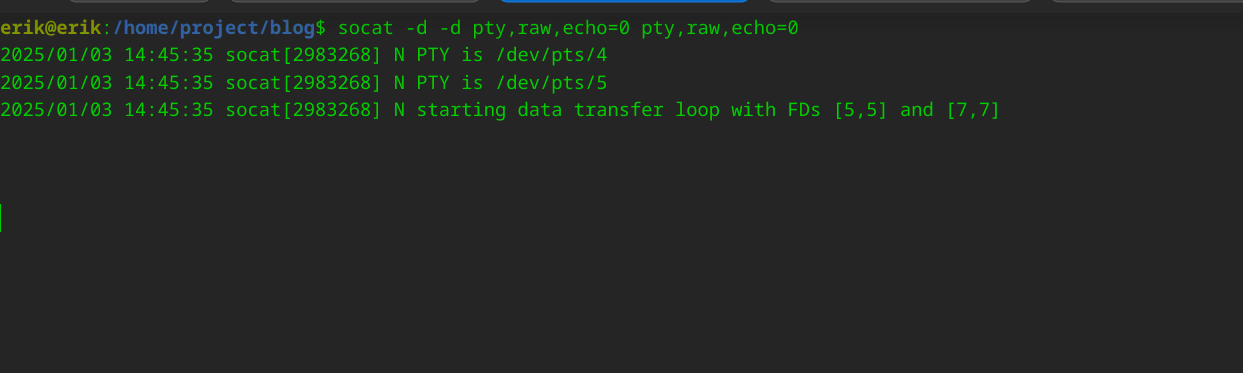
You can see that two virtual serial ports have appeared.
Put the PHP code above into a file and run it: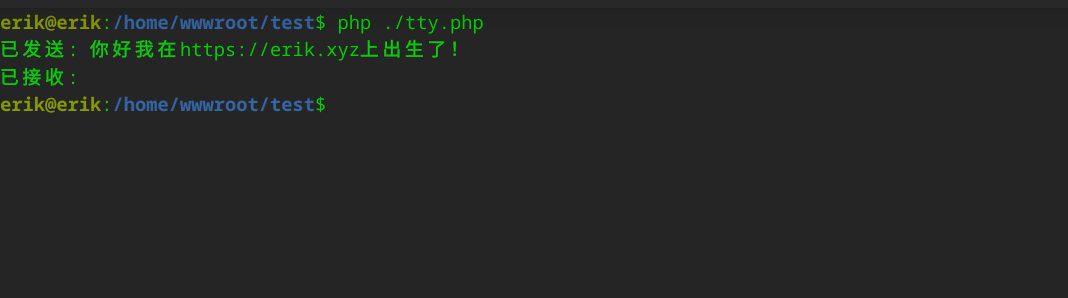
At the same time, open another window and run: cat /dev/pts/5 to read the serial port data.
As shown below: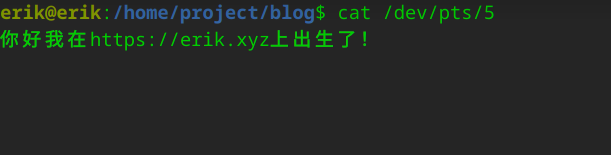
This is sending data — so how do you see the received data?
Well, just modify the code and add a for loop:1
2
3// read data from the serial port
$data = dio_read($fd, 1024); // read at most 1024 bytes
echo "已接收: $data\n";
This modification is mainly for testing; in practice it isn’t needed.1
2
3
4
5
6
7//test receiving
for($i=0;$i<20;$i++){
sleep(3);
// read data from the serial port
$data = dio_read($fd, 1024); // read at most 1024 bytes
echo "已接收: $data\n";
}
Then run the PHP code again, and in a new window run echo "欢迎你出生在https://erik.xyz" > /dev/pts/5 to send a message, and you will see the reception as shown in the image:
At this point, sending and receiving over the serial port are working.